Thursday, April 24, 2014

It's Compendium of Curiosities 3 Challenge Time!


It's finally here! The challenge has begun and I can finally post my project created for the first challenge!

The first challenge is based on the paint marbling technique which can be found on Page 43 of your CCIII book. Here is my project:


I first used the technique on a manila tag using Squeezed Lemonade, Dried Marigold, Broken China and Peeled Paint Distressed Paints. I used some Vintage Photo and Crushed Olive Distress Ink to fill in.

Then I used a piece of manila cardstock and, using the same technique, created a second piece using Squeezed Lemonade, Dried Marigold, Wild Honey and Seedless Preserves. After I dried this piece I ran it through the Vagabond using one of my new favorite dies, Tim's Sizzix Tattered Flower Garland. I then die cut cream cardstock using my other favorite die, the Spring Greenery. I added color using Crushed Olive and Forest Moss Distress Inks.

Finally, to finish the piece, I stamped Tim's Stamper's Anonymous bird and nest on a separate piece of cream cardstock, colored with Distress inks and cut out. These pieces were glued to the tag and then the greenery and flowers filled in around the nest and bird. I also die cut a Memory Box Donnington Tendril and added it to the scene. I used Wendy Vecchi's stamp for the sentiment. I finished the whole piece off with a beautiful new metal piece by Tim that I painted with Distress Paints.

Now it's your turn! Head on over to the CC3C Challenge page to look over the rules, learn the Marbled Paint technique on page 43 and create your own art! Be sure to upload your piece after you have finished to the challenge page (you can find instructions on the Challenge Page and visit each member of the Curiosity Crew's website/blog. Leave a comment if you would like a chance at winning a fabulous prize from Tim and Mario!

Linda Ledbetter - Linda Ledbettter.com
Yvonne Blair -      Life's Little Details
Candy Colwell -  Creativity is Contagious
Annette Green -  Annette's Creative Journey
Cheryl Grigsby -  Cheryl's Paper Artz
Anita Houston -   The Artful Maven
Marjie Kemper - Marjie Kemper Designs
Susan Mostek -  You are Here
Hels Sheridan -   Ink on My Fingers


This week's challenge sponsor is The Inspiration Emporium. They will be offering a 10% discount to anyone who uses the CC3C code.  They are also providing a $50.00 gift certificate to one lucky challenge winner. Good luck to everyone!

Susan


Sunday, April 20, 2014

Compendium of Curiosities III Challenge is Here!


The official announcement has been made, so I can now tell you the exciting news! The fabulous Linda Ledbetter is hosting the official Compendium of Curiosities III Challenge (#CC3C) based on techniques from Tim Holtz's incredible new book by the same name, the third in a series.  The book is jam-packed with amazing art inspiration and techniques!  The challenge begins next Saturday, April 26th.

I was extremely honored to be asked by Linda to be part of the Curiosity Crew, a wonderful group of super talented artists and special friends who will be playing along with all of you!  We are ready to get curious and want you to join us in the fun, so pull out your Distress inks and paints and and let's get creative!  

I have it on good authority that there are a TON of fabulous prizes to give away provided by Tim and Mario as well as our generous sponsors, the Inspiration Emporium and the Funkie Junkie Boutique!  Instructions on how to win will  be included with each new post.

To play along with us, you will first need your own copy of the book.   If you don't have the book yet, you may purchase it here.  The challenges will be posted every two weeks along with the page number from the book where the technique can be found.  Linda will be mixing things up, so none of the challenges will follow in the same order as the book.  Check out the Challenge page here for more information and to meet your Curiosity Crew!

Are you ready?  Get those creative juices flowing and join us in the fun!


Tuesday, April 1, 2014

Healthy Eating

Like many of us, I have been determined to eat healthier this year. As a part of my journey, I decided to try new foods I was not familiar with. The first one I tried was Quinoa, a seed grown in the Andes mostly from Peru, Bolivia and Ecuador. I love it! I found a recipe on the back of a bag of quinoa from my local Kroger store - a Mediterranean Quinoa Salad - and whipped it up that same day. I enjoyed it so much that I make it quite often and usually take it with me to Rocky Mountain Memories to eat at lunchtime when I am teaching.

Many people have seen and smelled my lunch and asked me for the recipe to try, so here it is!

Mediterranean Quinoa Salad


- 2 cups chicken broth 1/2 cup kalamata olives, chopped
1 garlic clove, smashed 1/2 cup feta cheese, crumbled
1 cup Quinoa, uncooked 1/4 cup parsley, chopped
2 large cooked chicken 1/4 cup chives, chopped
breasts, cubed salt and pepper to taste
1 small red onion, chopped 2/3 cup lemon juice
1 large red bell pepper 1 Tbsp balsamic vinegar
1/4 cup olive oil

In a medium saucepan, bring the chicken broth and garlic clove to a boil. Stir in the quinoa, reduce heat to medium-low, cover, and simmer until the quinoa is tender and the chicken broth has been absorbed, 15-20 minutes. Discard the garlic clove and transfer the quinoa to a large bowl. Gently stir the chicken, onion, bell pepper, olives, feta cheese, parsleym chives, salt and pepper into the quinoa. Drizzle with lemon juice, balsamic vinegar and olive oil. Stir until well combined. Serve warm or refrigerate and serve cold.

Makes about 8 servings

I like to prepare this dish with vegetarian ingredients every so often. To do this, prepare the quinoa in vegetable broth instead of chicken broth and use tofu instead of cubed chicken breasts.

Hope you enjoy this dish!


Posted using BlogPress from my iPad

Thursday, March 13, 2014

B Line Blitz Time!

Had a fabulous class last Saturday at Rocky Mountain Memories! I am so disappointed that I forgot to take pictures of everyone having fun, but I do have the pictures of the wonderful cards we made using B Line stamps!


-


Both of the above cards were made using this one sheet of Webster's pages Romantique paper. I wanted to make a more unusual sized card, so I made two from this paper that would fit into a legal sized envelope.

The next cards were all made from Bo Bunny's The Avenues Home paper. (Sorry, I forgot to take a picture of the paper)


We finished the hardest card first which was the card from my first blog post.


We also learned how to watercolor with Ranger Distress inks! Hope you enjoyed the cards!
Susan

B Line stamps: Connie, Diane, Dorothy, Paris Air, Bird Bath, Flying friends, On the Road Again cube, Enameled Plate, Hot Air Ship, Queen Anne's lace and Child's Wonder.

Memory Box die: Orchard Frame

Ranger Distress Inks and waterbrush

Webster's Pages Romantique paper

Bo Bunny The Avenues Home paper


Thursday, February 27, 2014

Paper Tales

Whenever I come to San Diego to visit my parents, I can't leave without making a trip to Paper Tales! It is such a fun store! I have taught classes here several times and really enjoyed it!


Unfortunately, I missed the wonderful owner of the store, Michelle, when I went in today. however, I still had the opportunity to look around and see all the wonderful items she has in the store.


Isn't the decor wonderful! I love it!

I also LOVE the new classroom. Space was tight before Michelle expanded the store. Now I can't wait to teach classes next time in this beautiful area!


Along with beautiful papers, embellishments, inks and dies, Michelle carries many unique items. Plan to make multiple trips around the store to see everything!


Next time you find yourself in the San Diego area, plan to stop in at Paper Tales!

Posted using BlogPress from my iPad

Location:Pt. Loma, California

Monday, February 24, 2014

Suffering in San Diego?

Well, I left my family behind in Colorado to come to California for some relaxation, to help my parents if they need it and to work on some new classes at Rocky Mountain Memories. My parents have lived here for over 40 years. The vegetation grew in beautifully many years ago so that now there are beautiful flowers, singing birds, a pool and peace and quiet.


-
This is the hillside in Winter. If you look closely you can see the hummingird feeder. There are tons of them!


This is what it looks like in Spring/Summer.
Right now the orange tree is producing tons of oranges!


I will be making a trip to my favorite store close by in Pt. Loma, Paper Tales later this week and hope to blog about it.

Anyone feel sorry for me?

Posted using BlogPress from my iPad

Friday, February 14, 2014

Thanks for the Lift!

Wow!  My first blog post ever!  I am so excited to start this new adventure and grateful to the wonderful artistic friends I have made over the years who have encouraged me to do this.  There are so many people to thank that I could go on forever, so I decided to make a card to express my gratitude to all for helping me so much.  I hope you all know who you are and how much I love you guys!


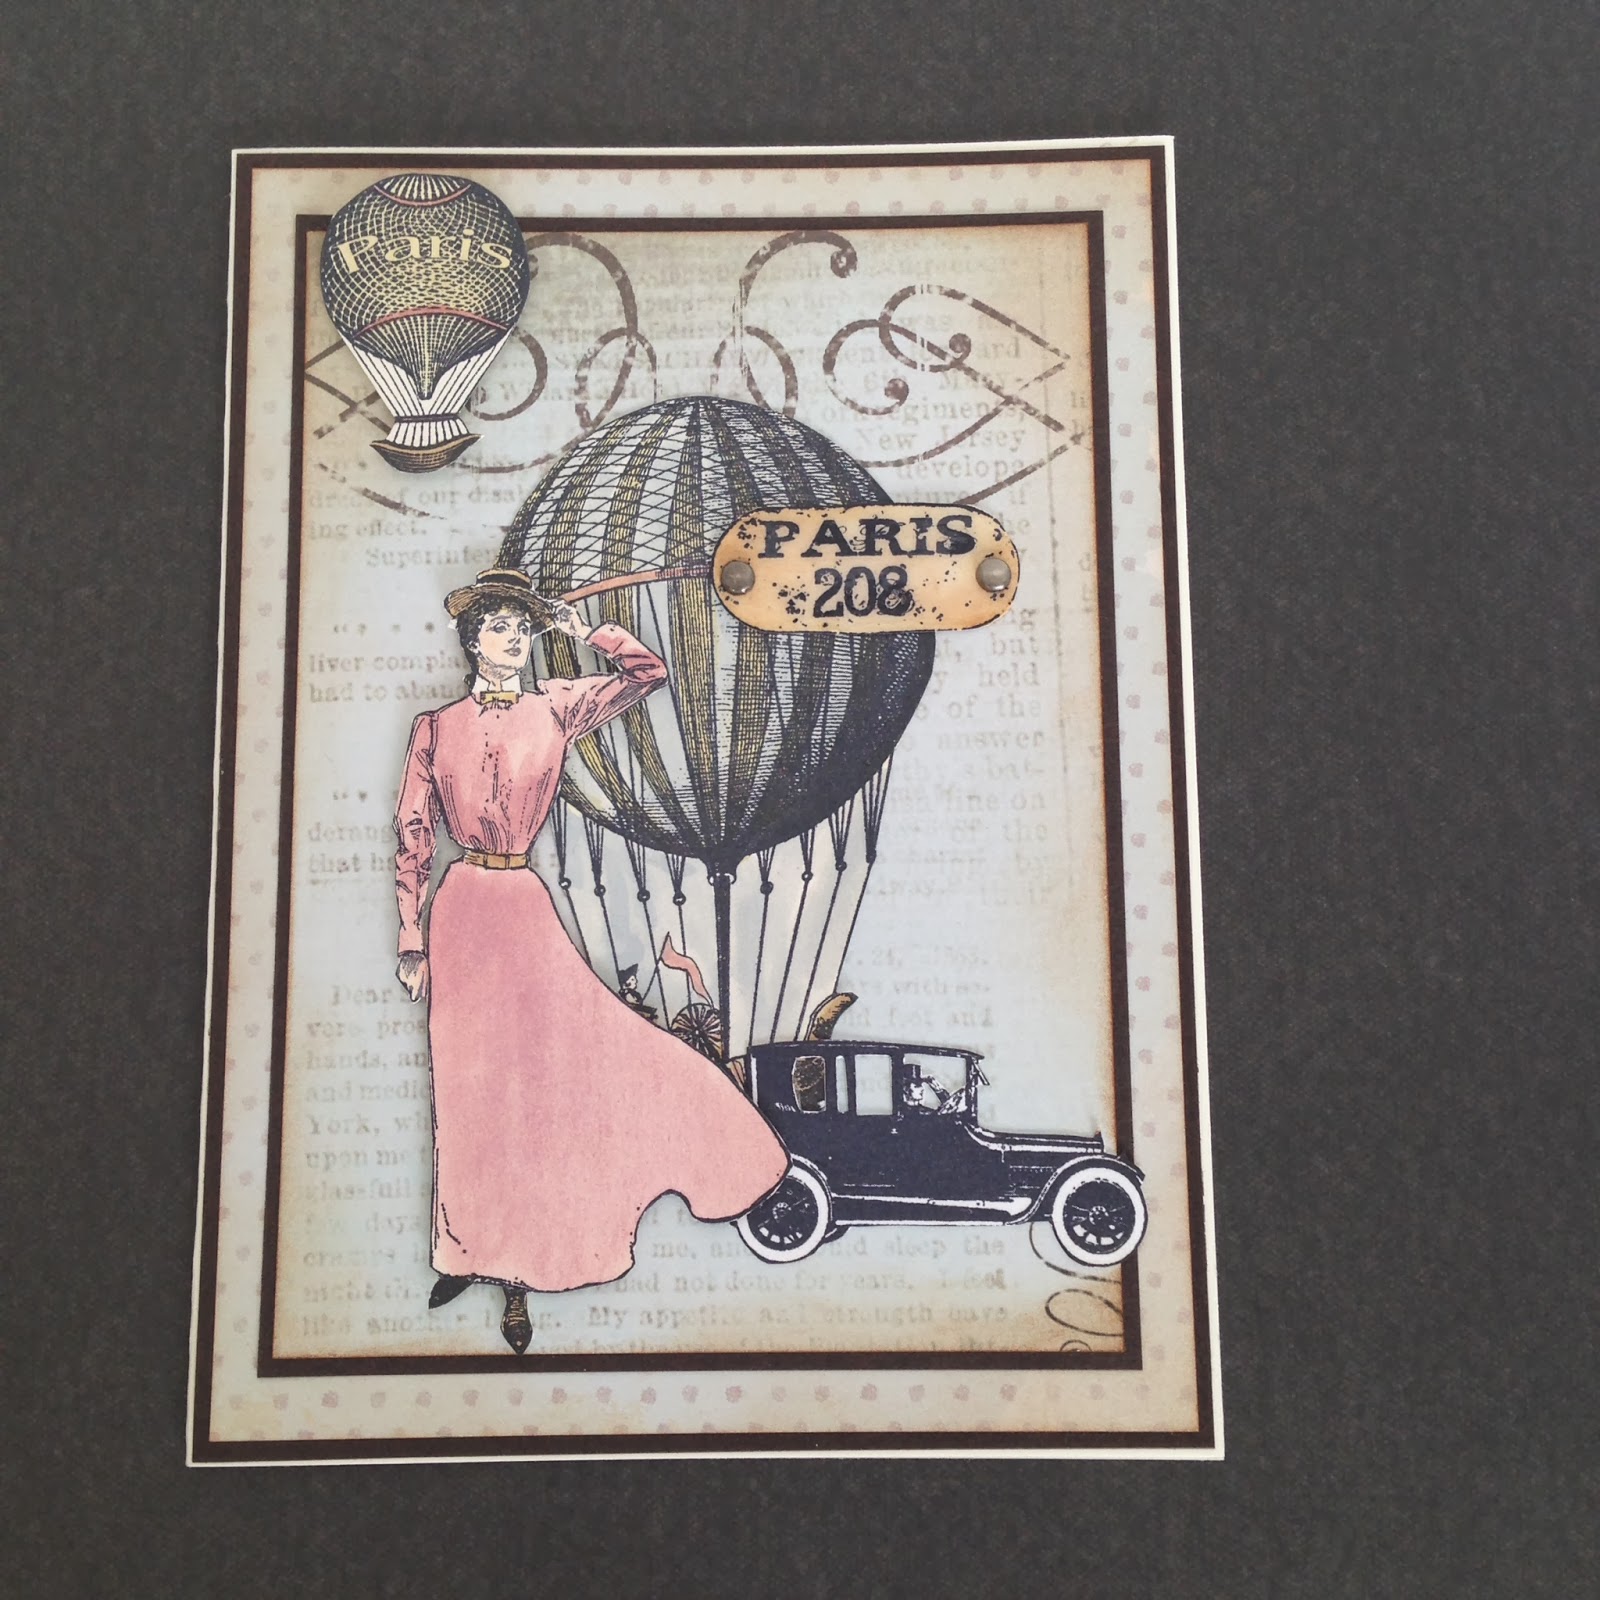
All the stamps I used are by B Line Designs.  The paper is by Ruby Rocket, the Mother Nature collection.  I stamped Alexandra, Hot Air Ship, Paris Air, Paris from the Enameled Plate Cube and the car from the On the Road Again cube onto scrap cream cardstock.

I absolutely LOVE to watercolor with Tim Holtz's Distress Inks!  I smudge some color from the ink pad onto a craft sheet and spritz a bit of water next to the ink.  I then pick up the ink along with a bit of water using a small paint brush or water brush.  (The amount of water you will use depends on the intensity of the color desired).  I used this method on Alexandra, the Hot Air Ship, Paris Air and the Paris enameled plate.  Cut all images out, including the car.

I punched two holes for the brads on either side of the enameled plate and then spread Ranger's Glossy Accents over the top, being careful not to put it over the holes and not too thick.  Let dry. 

Finally, I arranged all of the images on top of the Mother Nature paper and adhered them.  I started by laying the Hot Air Ship flat and then I added pop dots to the back of the remaining images and placed them all around the Ship.  Two holes were punched into the enameled plate and brads inserted.  Two small holes were punched into the card and brads attached.  I created the mats to help frame the piece and stamped "Thanks for the Lift" on the inside of the card.

I hope you enjoyed my card creation for this first blog entry.  I am a bit challenged by technology, however, I am learning slowly but surely and hope to eventually include tutorials.  Thanks to all for following along with me on my creative journey!

Susan